Statement :
- How to Implement content personalization using ContextHub in AEM
- Content personalization using Based on the profile information.
Solution :
Follow the below steps.
Step 1 : Create audiences.
- Go to this URL http://localhost:4502/aem/start.html -->click on personlization-->click on audiences.
- Select --> we retails under audience-->http://localhost:4502/libs/cq/personalization/touch-ui/content/v2/audiences.html/conf/we-retail
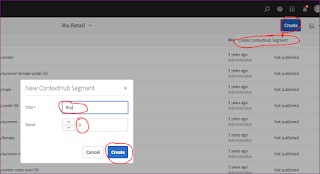
- Create new Audiences -->click on create -->create context hub-->Enter some name and click on Ok as shown in below screenshot. created two audiences one for Boy and another one for Girl.
Step 1.1 : Assign Segment to Audiences for Boy and Girl as per below screenshots
Step 2 : Create a Brand for audineces
- Go to this URL http://localhost:4502/libs/cq/personalization/touch-ui/content/v2/activities.html
- Click on create-->create Brand --> follow the below screenshot
Step 3: Create Activity
- Go to this URL: http://localhost:4502/libs/cq/personalization/touch-ui/content/v2/activities.html/content/campaigns
- Now select the already created brand i.e SampleCampaign -->click on create -->create activity--> follow the below screenhsots
Step 4: Click on Next to map Experience to Sampleactivity as shown in below screenshots -->click on + add experience to add the audiences created in earlier steps and map
Step 5: Enable target component for image
- Go to this URL: http://localhost:4502/editor.html/content/we-retail/us/en/about-us.html
- add image component and author an image
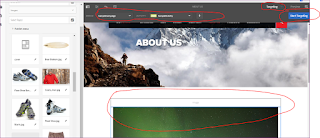
- Switch edit mode to Target mode -->click on start target --> and select the authored image component to enable the target as shown in screenshot
- Click on Start Targeting, Highlight image component while selecting the default target option and enable target-->click on target icon as shown below.
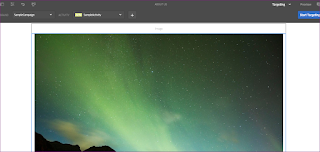
- Now again select the same image component but select the target as Male Option and author different image as show in below
- Now again select the same image component but select the target as Female Option and author different image as show in below
- Click on Next
- Click on Save
- Switch to preview mode and switch profile to male/Female based on the profile selection you can see different images are shown. refer below screenshots.
- That's All!.


No comments:
Post a Comment